 Just as flowers may melt the heart of a lady, so too can beautiful bright work move the buyer’s heart.
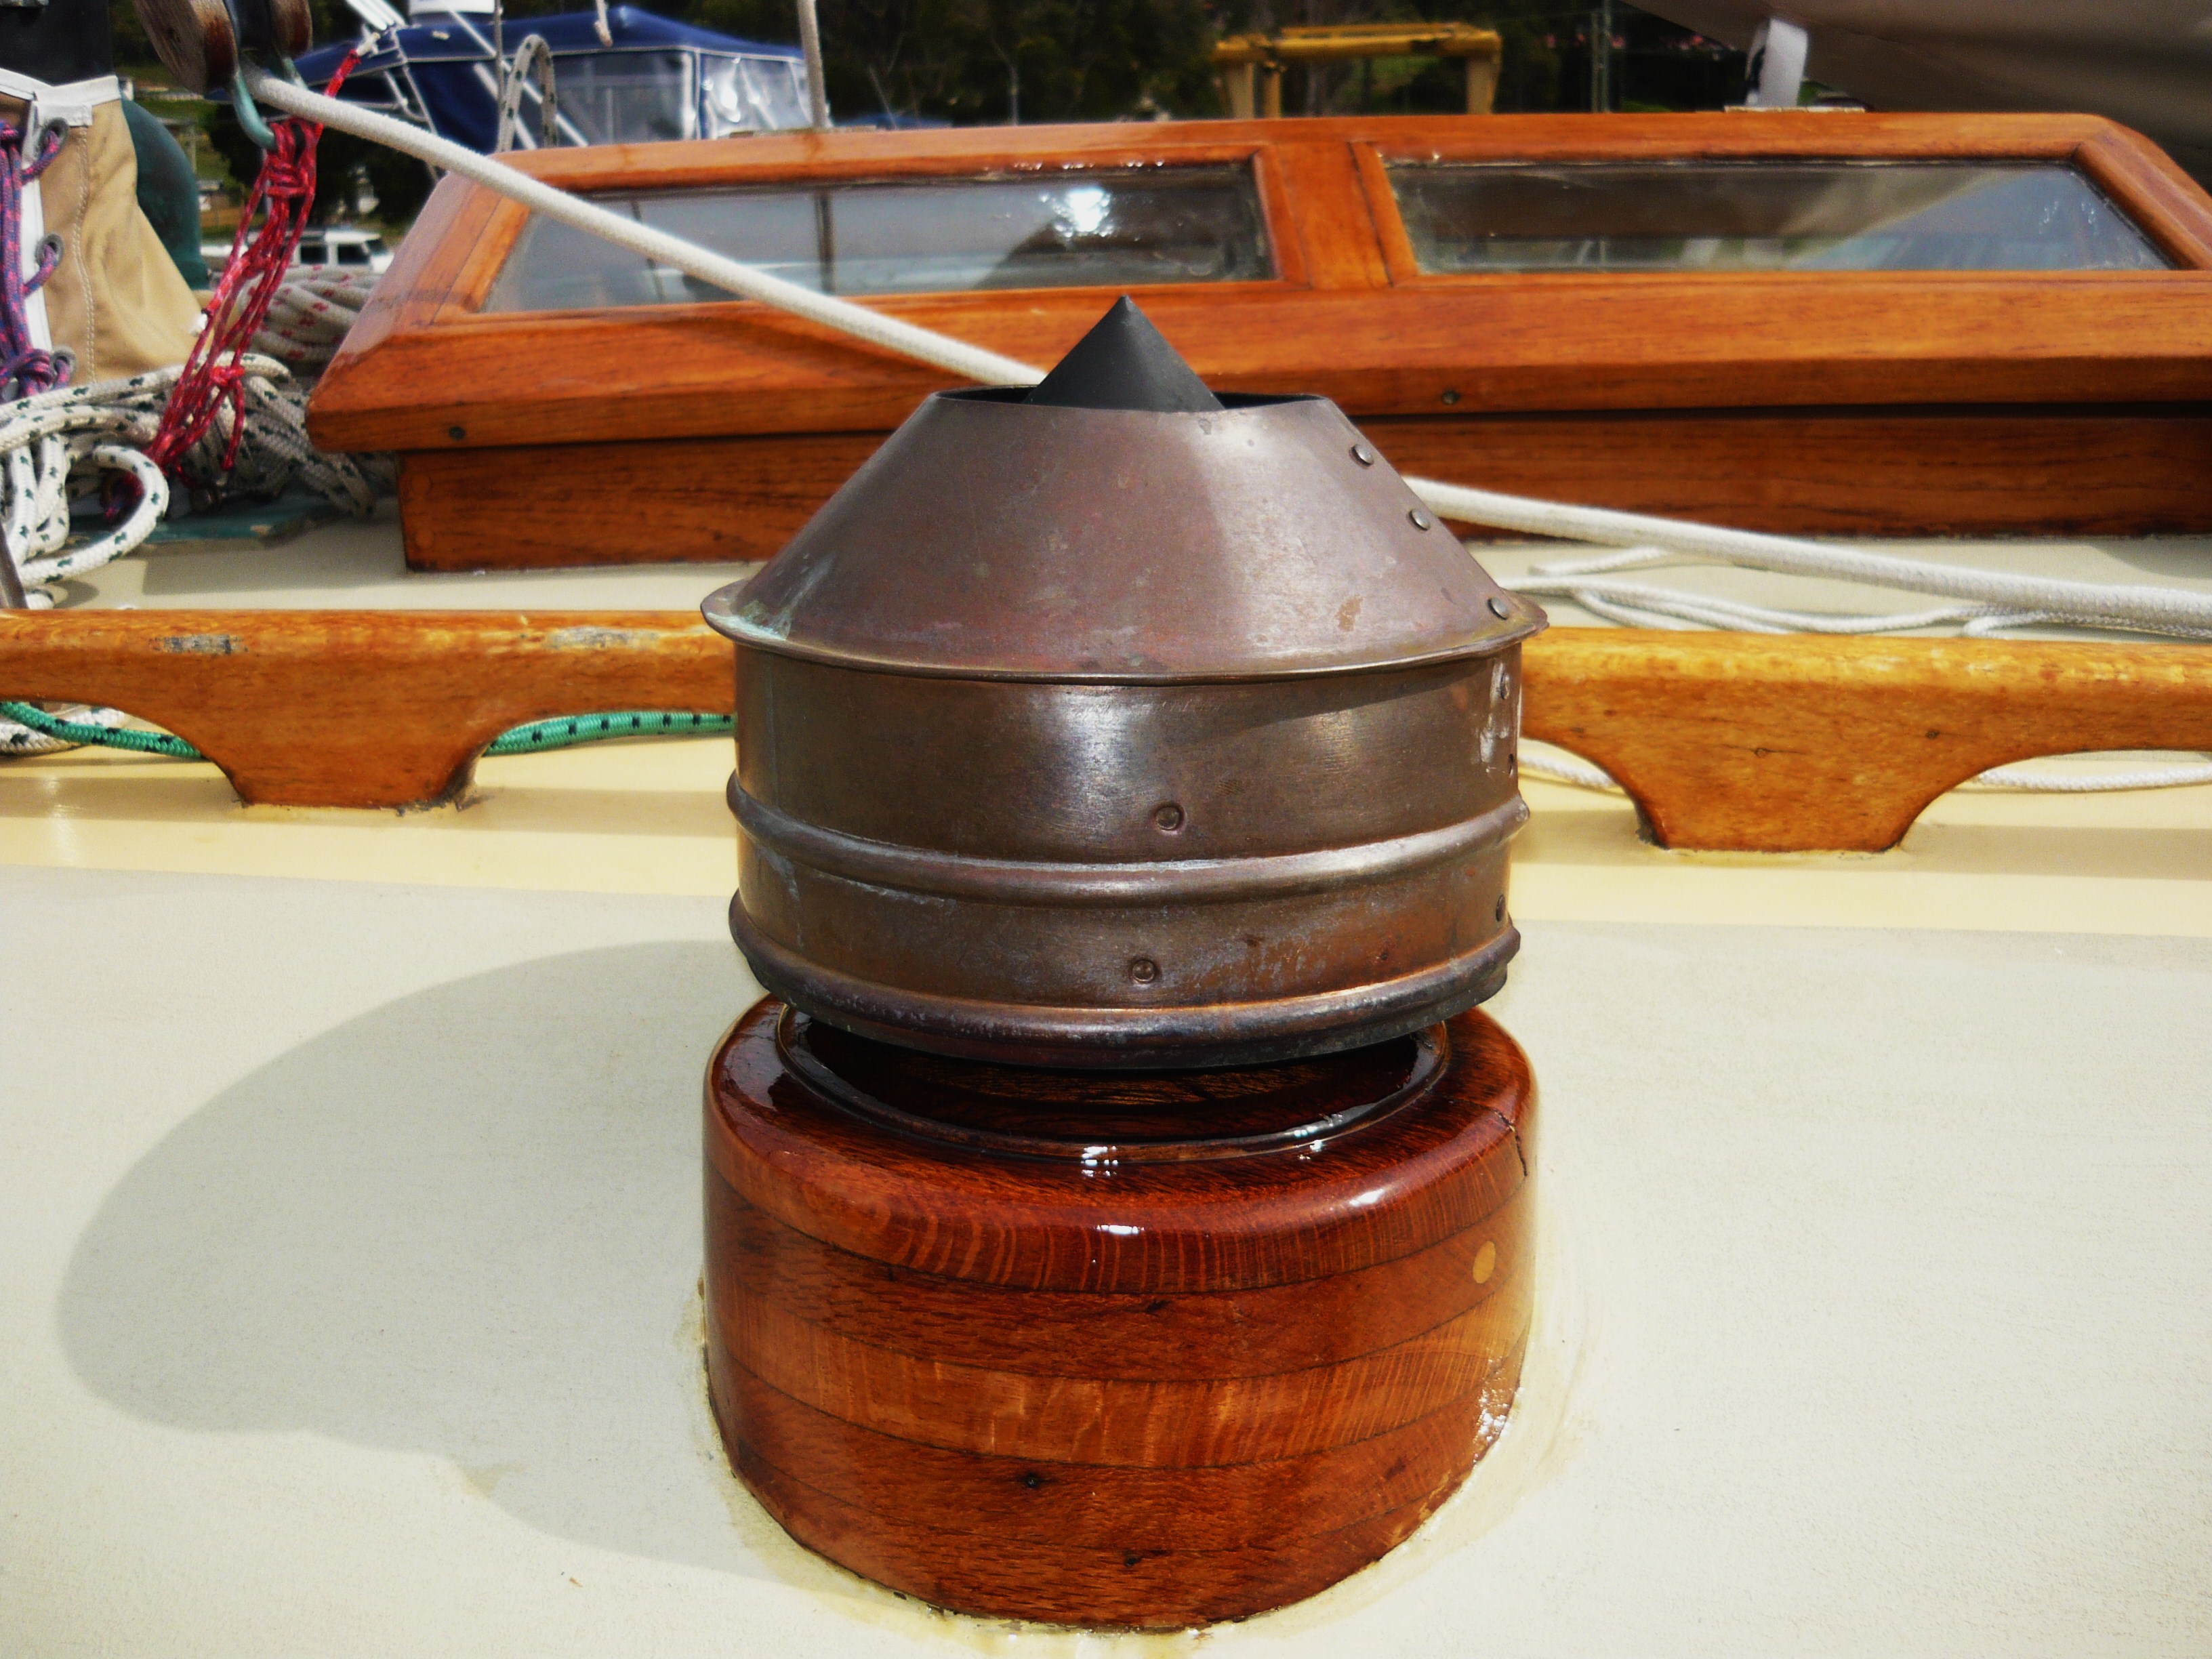
On a boat there is nothing quite so alluring as beautiful bright work reflecting warmth and color; revealing the wood grain and texture.
It’s the soul of a beautiful boat.
If any single factor is going to make or break your boat presentation, it is most likely to be the quality of your boat varnish.
Great bright work moves the spirit. Scrappy vanish work on the other hand, casts a pall over the entire boat presentation. In an unhelpful manner, it reminds the boat buyer that this boat is going to require maintenance…gasp!
As followers of the “Over-boated Formula” will verify, this oversight has the effect of shattering a buyer’s maintenance delusion, thereby leaving you the vendor, short changed and minus a sale.
Great bright work is not difficult to achieve, but it does require a degree of commitment. Anyone who tells you that there’s a magic bullet for boat brightwork that doesn’t require work and commitment is a fool.
I proffer this observation as one who has traveled in hope, down many a rabbit hole in search of the ultimate bright work technology fix. Like Alice, following encounters with the Cheshire Cat, the Mad Hatter et al, my conclusion is that sales hype around these products is full of ‘it’… the bovine excrement that is.
The ultimate technology fix for beautiful bright work has yet to be invented.
That said, there are indeed high tech finishes available that can be applied wet on wet without sanding between coats. This feature dramatically reduces the time and work involved in application of the finish.
However the work saving at the front end of the process is more than offset by the additional work that arises at the other end of the time-line; when due to the inevitable weathering and deterioration of the old finish, you must strip and begin again.
High tech and two pack bright work finishes are a ‘dog’ to strip.
Don’t imagine for a moment that any finish exposed to the elements on God’s Green Earth will last in perpetuity. All bright work deteriorates with exposure to sun and weather. Salt crystals left to dry on bright work accelerate the process by way of amplifying the sun’s destructive force.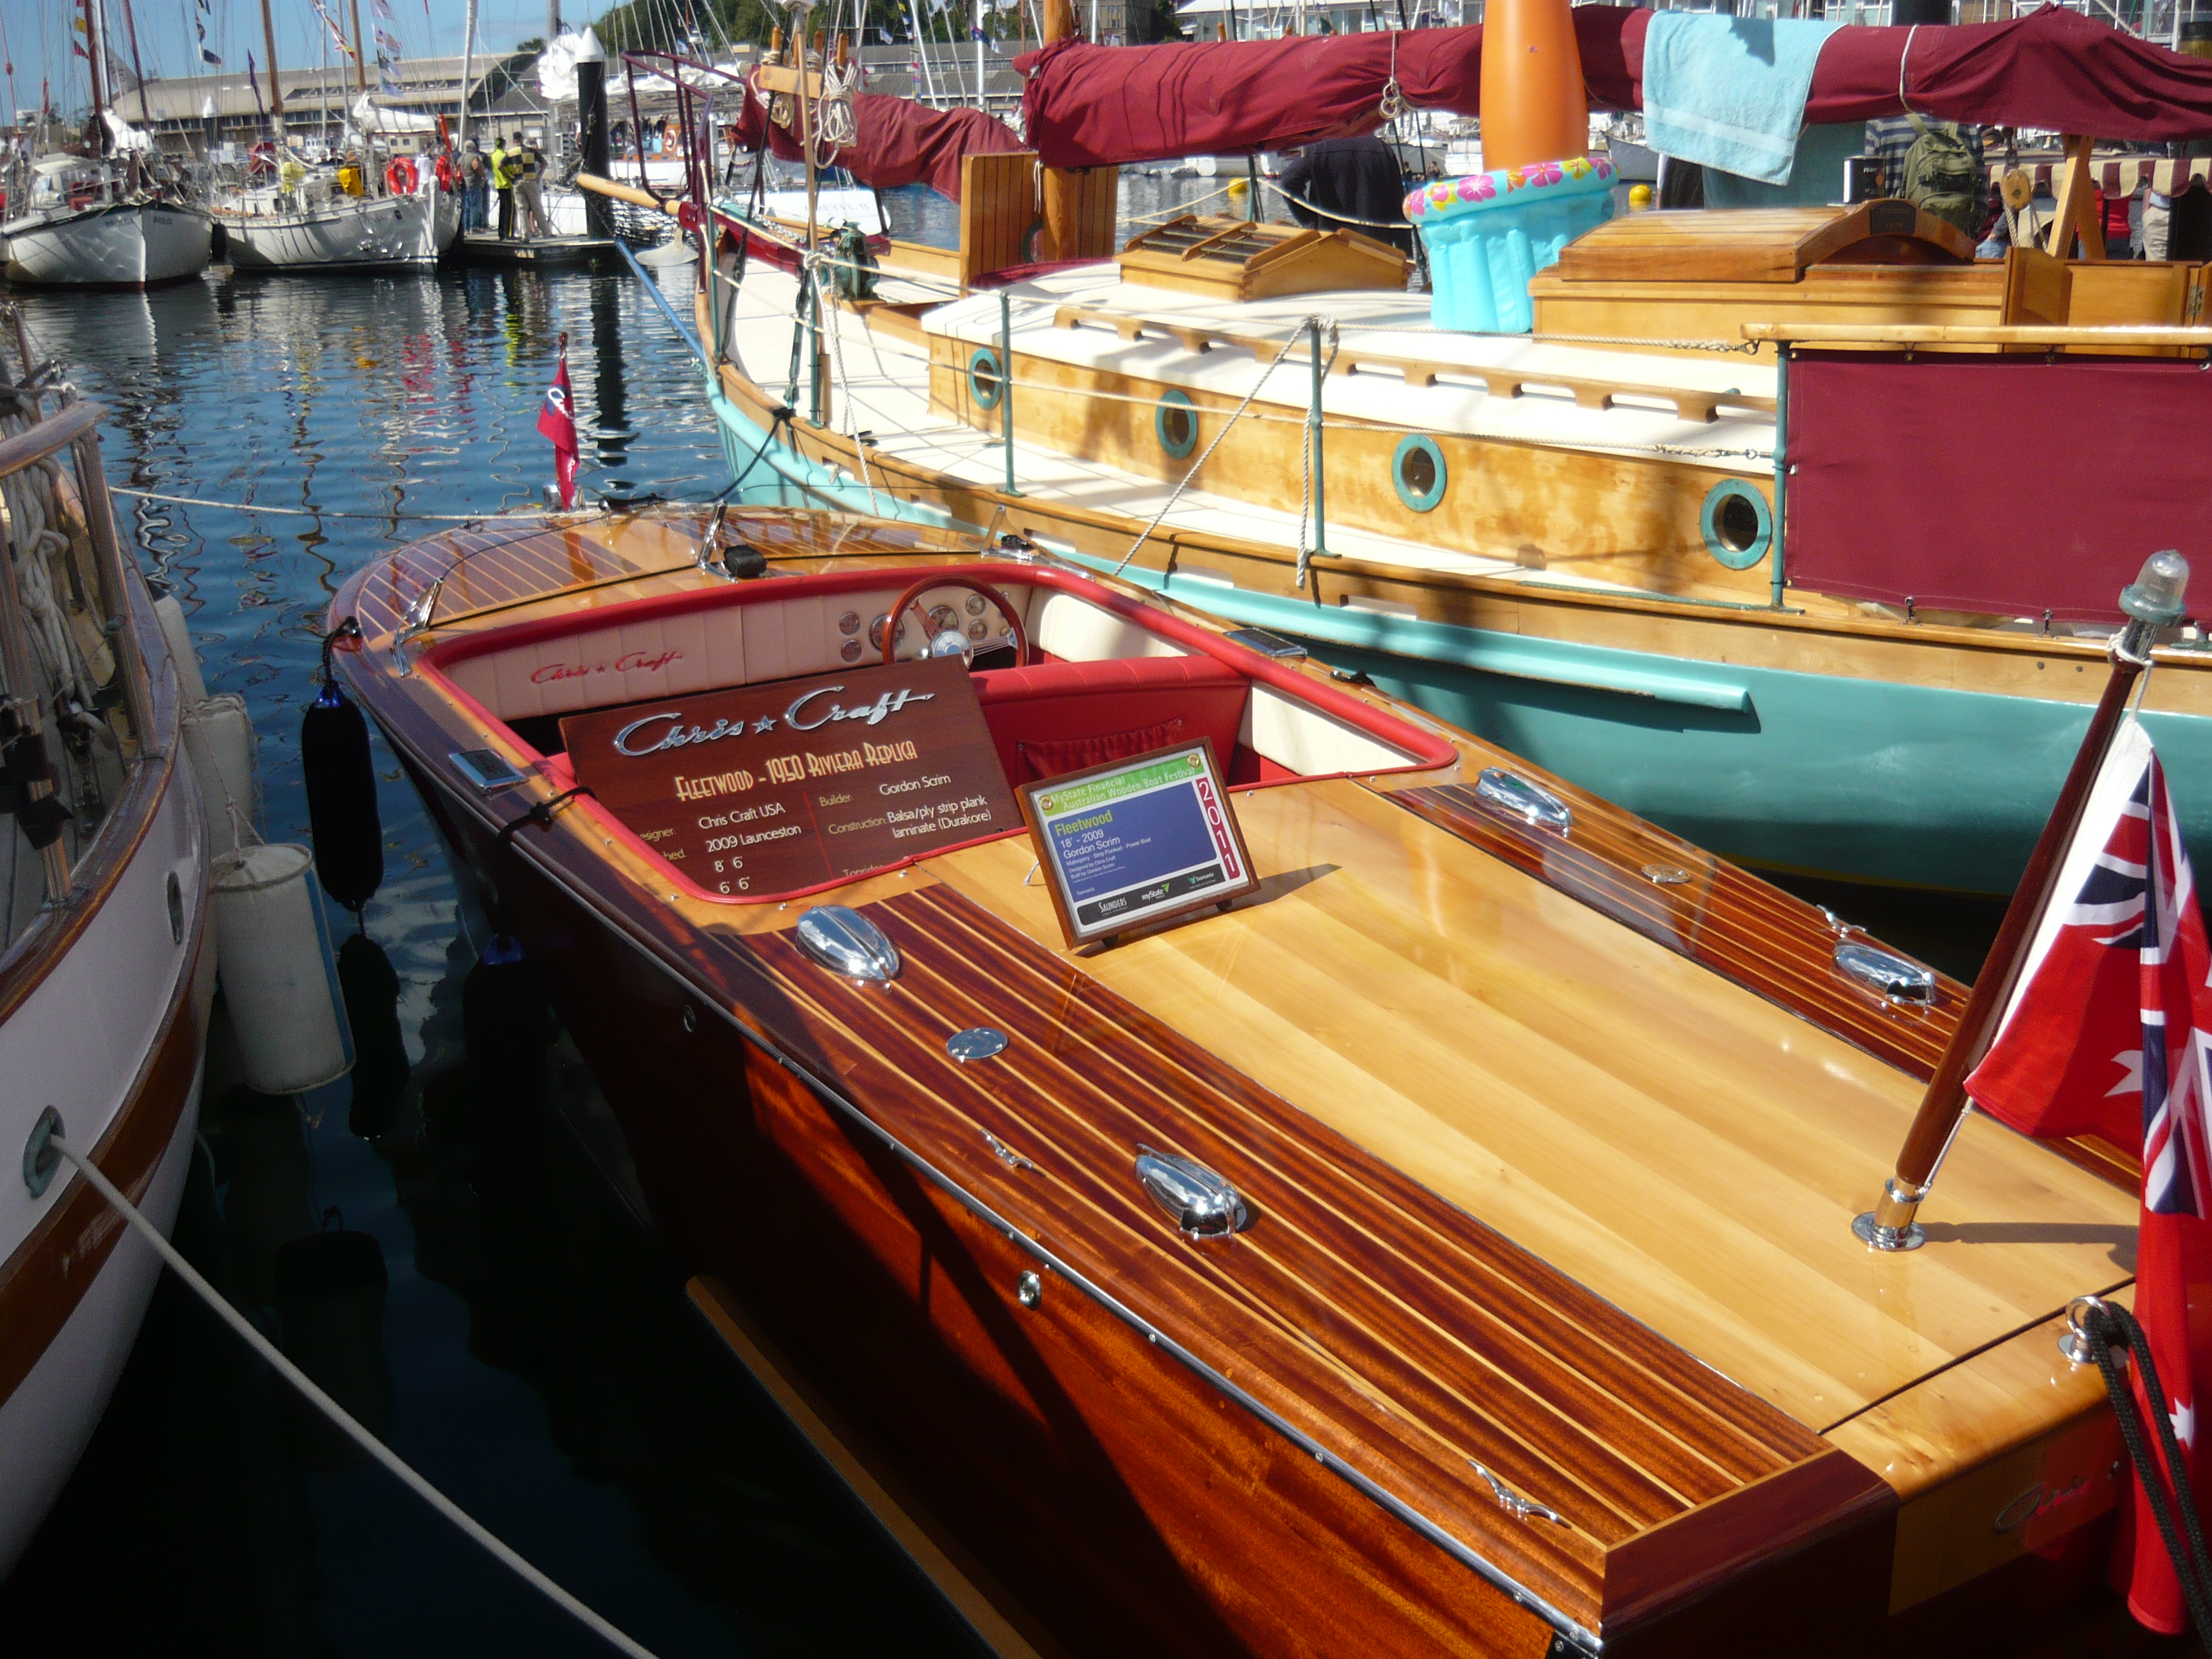
Between varnish products the differences definitely exist but they are marginal. Modern varnishes are largely composed of modified phenolic resins. I personally like Werdol made by Epifanes which is a dedicated marine spar varnish. Epifanes also make Bristol Finish which is a high tech product.
Depending upon a number of factors relating to weather, exposure, the timber and the varnish itself, your vanish job will have a certain life over which it may be periodically resurrected with minimal effort.
Varnish depth (number of coats) is a big factor determining longevity of the finish; meaning, the interval between the end points of stripping back to bare wood and starting again.
Between these end points there will be an intervening period, generally years rather than months, during which a periodic light sand with #240 will be sufficient to key a refresher coat and a restoration of beautiful bright work.
Varnish quality is obviously a factor. I have found however that the difference between a good quality conventional exterior varnish and the marine equivalent of the same brand, is 99% price.
 If you believe the hype, marine varnish contains specialist additives to better combat sun, salt and weather, above and beyond those additives that exist in the exterior version of the same product. I have worked professionally with both variants of branded vanish products and I don’t buy it.
In Australia for example, Wattle make an exterior varnish that is every bit as good as any specialist marine product on the market, including their own.
Paint finishes generally, are an area where the DIY boating customer is routinely scammed into spending 30% more for any product with ‘marine’ appended to the label. With varnish as with marine paint generally, you don’t necessarily need to buy into that proposition. International are the worst offenders.
The varnish brush on the other hand, is an area where you definitely get what you pay for. Top line brushes cost money and they’re invariably worth it. There is nothing worse than trying to execute a perfect varnish job with a rubbish Chinese brush that drops hairs faster than a dog with mange.
Always store your varnish brushes hanging by the handle. Varnish brushes should never to be stored any other way or used for any finish other than varnish.
Secondly, clean your brushes religiously after use. I generally use turpentine, followed by detergent and hot water after each use. Never allow the varnish to dry on the brush. A good quality brush can never be resurrected from the dead, by resorting to paint stripper. Don’t be tempted!
Stripper will destroy your varnish brushes every time.
After each use and following cleaning, I leave brushes suspended in kerosene for a couple of days before hanging by the handle on a hook to dry. Kerosene is an excellent preservation medium that will keep brush fibers supple and maximizes longevity.
There are a couple of bits of essential gear that you will also need. I buy a certain brand of locally produced peanut butter, firstly because I quite like the product and secondly because the 375g screw top clear plastic jars are perfect for decanting and storing varnish.
A second eclectic item of kit that will prove to be of inestimable use, is a supply of panti-hose stockings. When I say ‘supply’, a single pack will last for years and the used variety are even better. Stretched over the top of the plastic storage jar, a section of panti-hose is perfect for straining varnish that has acquired a few lumps and hard bits after a time on the shelf.Of course you can shell out for specialist paint filters if you insist.
Always decant vanish from the storage jar for use and only so much as you will use. This keeps the storage varnish perfectly clean.
Thirdly, I keep a supply of the empty food tins that come with ring pull tops. The ring pull type leave a small inside lip in the top of the tin which is ideal for graduating the varnish on your brush.
With your gear essentials on hand, the first step is that of stripping off the old vanish.
I generally use a gel based chemical stripper. One coat might suffice but generally you will need two or three coats applied at intervals. Avoid heat and direct sun if possible.
You will need a decent quality scraper with a tungsten blade.
Allowing the chemical stripper to do the business, no great pressure is required on the scraper blade. The old varnish should come away with minimal effort. If fact you don’t want to be removing a wood shaving during this process.
Different timbers respond differently to chemical stripper. The best and most forgiving timber for stripping and re-finishing is probably teak. The worst is probably Tasmania’s huon pine. As beautiful and treasured as huon pine is for bright work, it tends to stain with the application of stripper. For this reason, huon pine is a pain in the butt to re-finish.
After application of the scraper, I generally clean up the surface with 80/120#, being careful to sand with the grain.
I then apply one or more coats of oxalic acid. Oxalic is a weak acid derived from rhubarb. It is very effective in removing traces of grey or black mildew residual in the grain of the timber.
If you find oxalic too thin to use on vertical surfaces, your hardware store will stock a gel based deck cleaner that is more forgiving, if somewhat more expensive.
Allowing the oxalic half an hour or so to do it’s work, you may need to apply two or three coats to get the result, but the end product is a full restoration of the golden glow of the original timber grain.
This is most spectacularly evident with teak.
Next step is to neutralize residual oxalic with fresh water.
When the timber is dry you’re ready to roll.
Cut your first varnish coat 30-50% with turpentine.
Never attempt to apply conventional varnish wet on wet. You will stuff the drying process and create a mess that will be difficult to fix.
That said, there is generally no need to sand between the first couple of coats. But a light hand sand with #240/#320 will key subsequent coats. At this point you may carefully use an orbital with a #240 disc.
It is possible to use an orbital on bare timber, but ONLY if you know what your doing. You must avoid cross grain score marks that the orbital will leave on soft wood, using too heavy a disc. Once the timber is scored like this, it is difficult to fix.
For this reason the safest course is to hand sand bare timber and always with the grain.
For latter coats I always cut the vanish 20% or so with an extender. Penetrol manufactured by the Flood Company is best.
Paint manufacturers decry the use of paint extenders. But the fact is that Penetrol makes the varnish flow better resulting in a better finish. That is why professionals use it.
I also use Pentrol on the dust rag, after sanding and between coats.
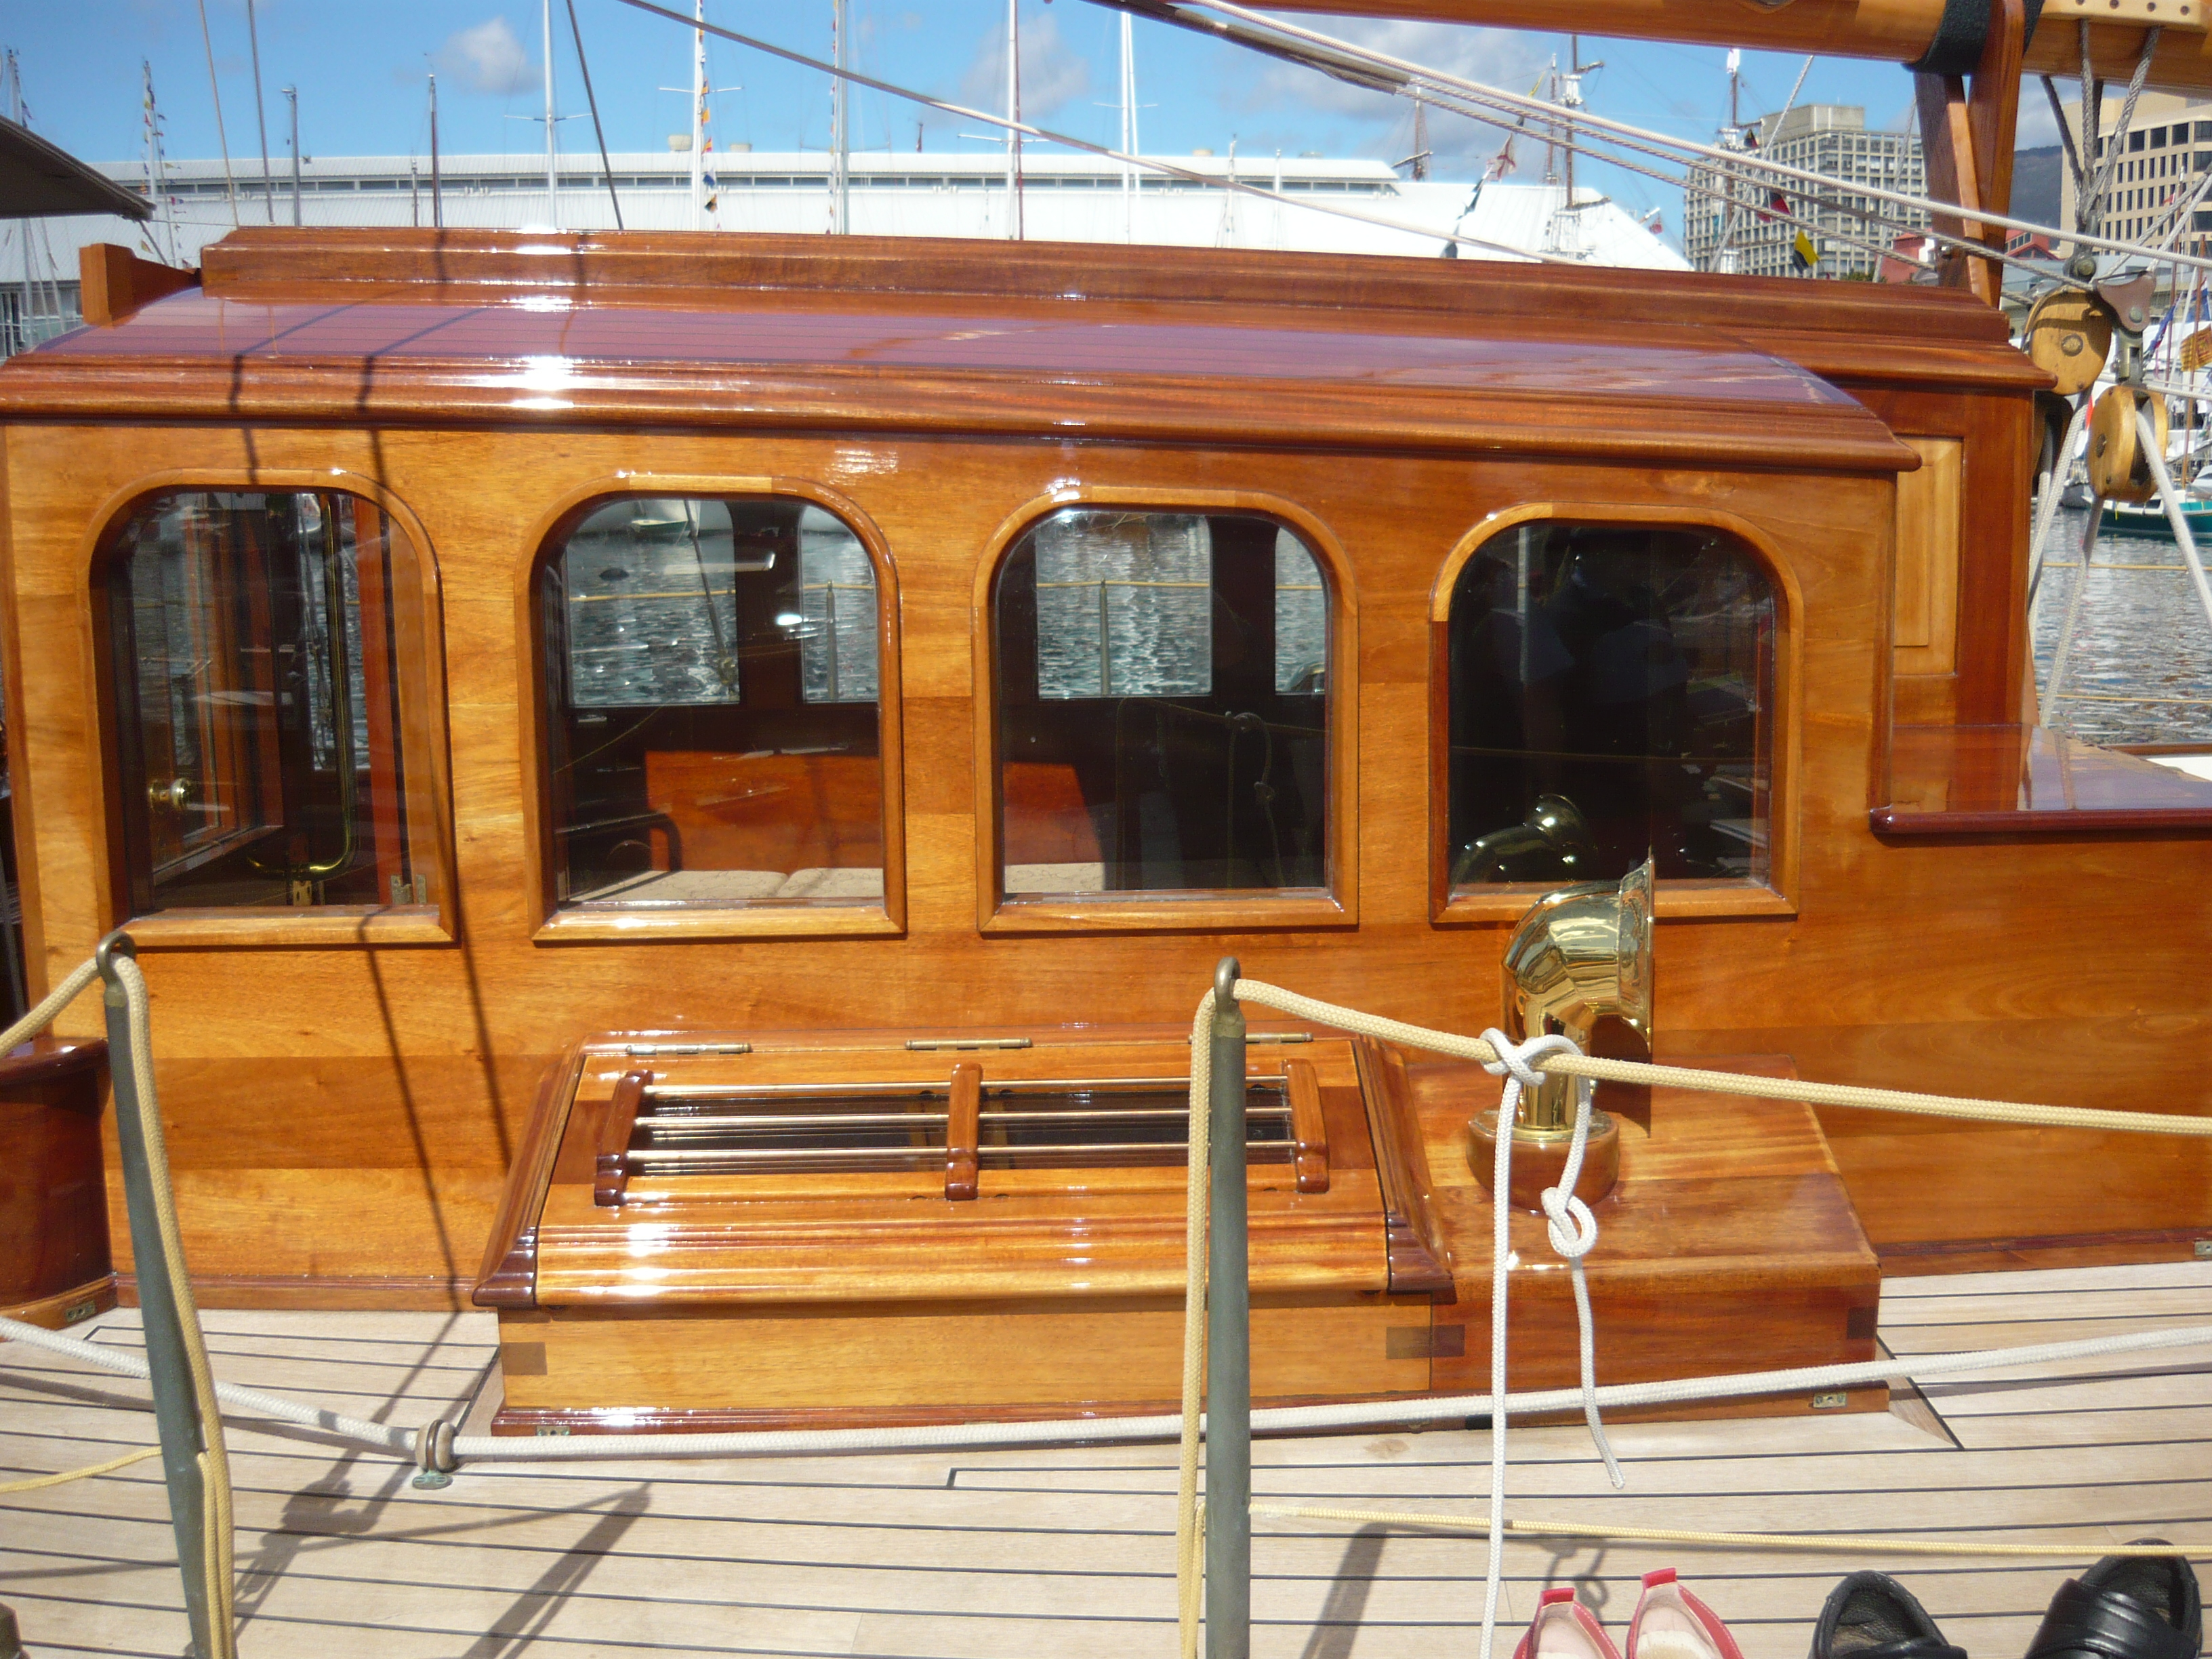
The point is your bright work is an important contributor to the look and overall feel of your boat for sale presentation. It is worthy of your commitment.